Category
- Uncategorized
- ; Games
- ; Home Improvement
- ; Outdoors
- ; Personal Care
- & Accessories
- & Garden
- & Gourmet Food
- & Home Improvement
- & Outdoors
- & Personal Care
- ames
- amp; Accessories
- amp; Games
- amp; Gourmet Food
- amp; Home Improvement
- Automotive
- Baby
- Beauty & Personal Care
- Clothing
- Clothing & Accessories
- cs
- de Products
- DIY & Tools
- ducts
- e
- e Products
- Electronics
- es
- Games
- Grocery & Gourmet Food
- Handmade Products
- Health & Household
- Health & Personal Care
- Home
- Home & Kitchen
- Home Improvement
- ies
- Industrial & Scientific
- ive
- Jewelry
- Kitchen & Dining
- Lawn & Garden
- mp; Accessories
- mp; Games
- mp; Gourmet Food
- mp; Outdoors
- mp; Personal Care
- Musical Instruments
- n & Garden
- nics
- oducts
- Office Products
- onics
- p; Home Improvement
- p; Outdoors
- p; Personal Care
- Patio
- Pet Supplies
- plies
- pplies
- Products
- roducts
- s
- s & Outdoors
- Shoes & Accessories
- Sports & Outdoors
- Stage & Studio
- tive
- Tools & Home Improvement
- Toys & Games
- upplies
- Video Games
- Watches
- wn & Garden
Noico Black 80 Mil (2mm) 36 Sq Ft (3.4 sqm) Car Sound Deadening, Butyl Automotive Deadener Restoration mat and Noise dampening Insulation
$205.91 Original price was: $205.91.$171.59Current price is: $171.59.
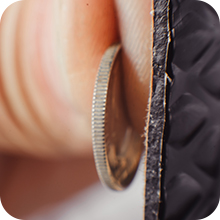
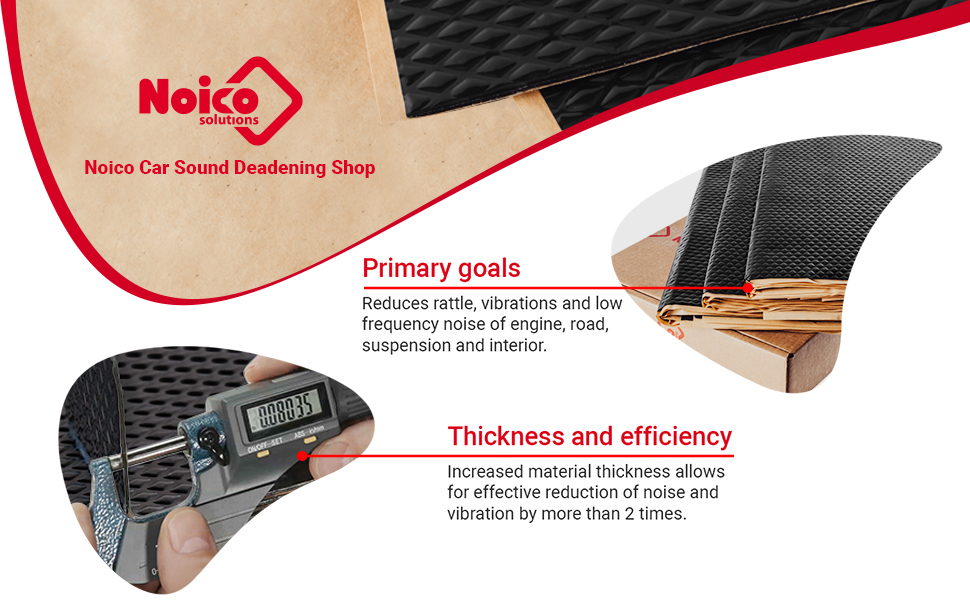
- The cost effective 80 mil (2 mm) automotive butyl and foil sound deadening! You are not just buying an excellent quality product but also saving more than 20% comparing to competitors as well!
- Now the material is 1,5 times thicker that will get you 1,5 times more effective insulation. Noico 80 mil is 1,5 times better in comparison to sound deadening material of 50 mil. The thicker the material the more performance you get!
- Automotive self-adhesive insulation consists of butyl. Noico sound deadening mat has a total weight of 0.7 lbs/1sqft (3.7kg / 1 sqm). This weight ensures maximum efficiency and sound insulation that could be possibly gained from 80 mil (2mm) thickness material. Noico 80 mil (2mm) is full weighted sound deadening material!
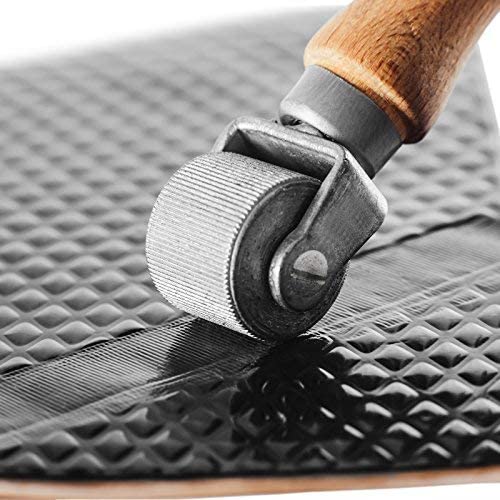
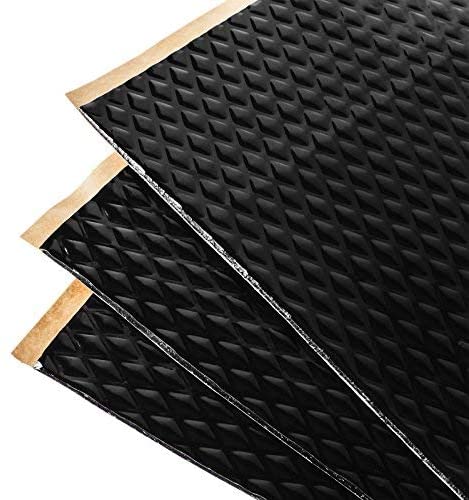
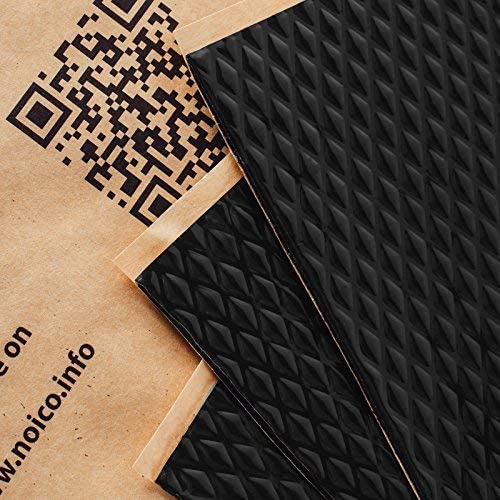
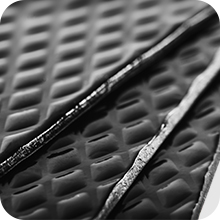
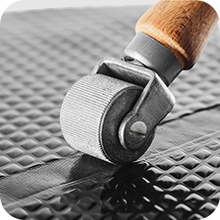
- Car insulation Noico has a special indicator as to if it is installed correctly. The special embossing on the foil must be rolled out with a roller till it is plain smooth, then you’ll be 100% sure that the soundproofing is set correctly and professionally! The sound dampening material comes in handy size sheets which make it easier in terms of cutting and installation process!
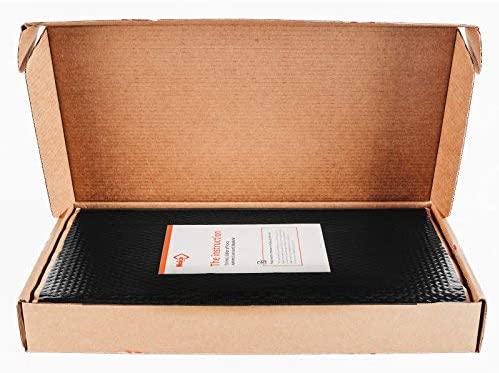
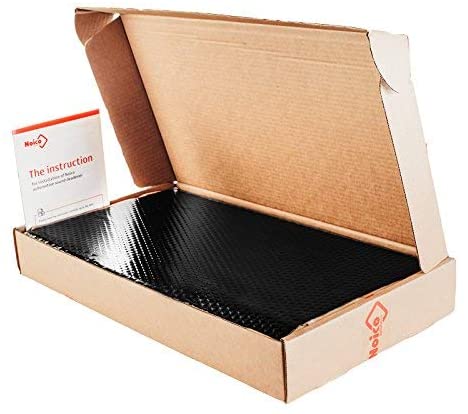
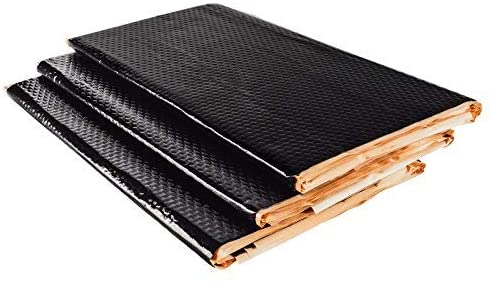
- Sound deadening material specifications: Nominal thickness 80 mil (2mm); Total coverage area of 36 sq.feet (3.4 sqm); Number of sheets in the stack 9 (sheets are folded); Nominal sheet Size 29,5×19.5 inch (760 x 500 mm). Roller is not included.

Noico 80 mil is full weighted sound deadening material! Vibro-dampening layer is a composition of butyl and different improvers. These components should be used in correct proportions so the maximum efficiency is achieved. The optimal weight of 80 mil material is minimum of 0.7 lbs/1 sqft. Different weight of the material may affect the physical properties thus decreasing a performance. Noico 80 mil has great adhesion! It is easy to cut and install. Noico altogether is a very user-friendly soundproofing solution.
This material eliminates vibrations, reduces general noise and rattle of the vehicle allowing for higher comfort. Noico 80 mil also improves a quality of your sound system. However, using Noico 80 mil as a standalone will not be 100% solution for your vehicle while still making a large difference. We recommend using Noico 80 mil in a combination with a layer of closed cell foam material which is a special heat and noise blocking product.
PAY ATTENTION!
– Please use gloves for your hands protection when working with material.
– Correct installation of material is 50 % of successful soundproofing of your car. Carefully pre-roll a material to the surface that was priorly cleaned and degreased. Special embossing on the foil is made for convenience of installation so you can see the areas that are rolled properly and those one that need more pressing.
HOW TO INSTALL
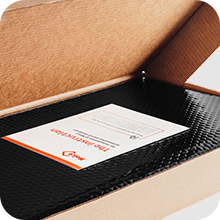
Please carefully read a service instruction up to the end. It is important to familiarize oneself with all the details as efficiency of soundproofing doesn’t just depend on material you use but mainly is a result of correct installation. Please note that incorrect installation might lead to undesirable results or no effect at all.
STEP 1
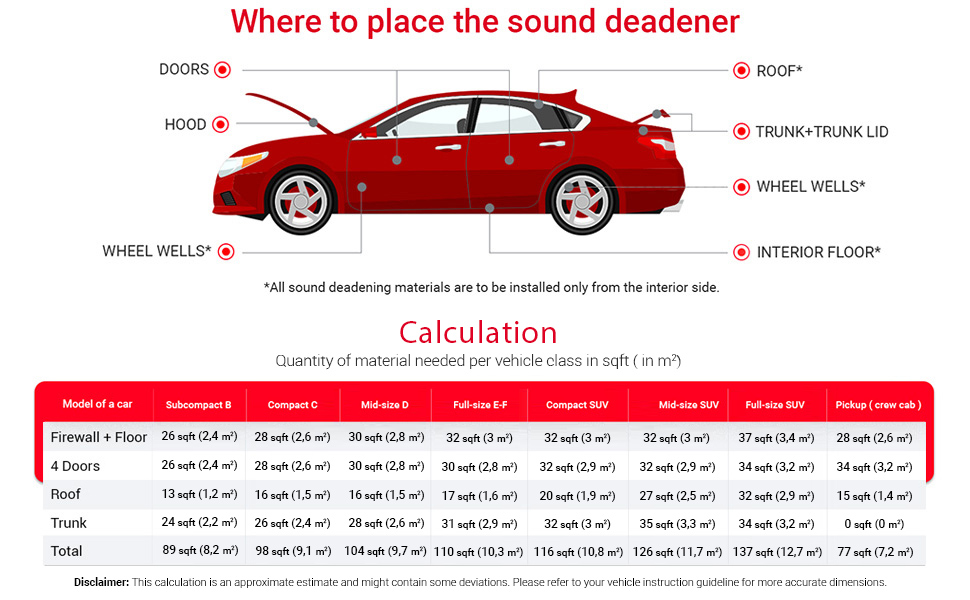
Decide what part of a car you want to insulate in first place: floor, roof, doors, trunk or firewall. Treatment of each metal part of car has its unique contribution to overall effect. With that being said, we recommend to soundproof all metal parts for maximum performance. Next, find a service manual to your particular vehicle and locate a part that explains as to how to dismantle the trimming panels. You’d have to be carefull when taking them off and avoid breaking the fixing clips. That sort of information could be also found on a relevant automotive forums.
STEP 2
Remove the remains of factory insulation once trimming is dismantled. You only need to do that if the factory insulation is damaged or not properly fixed. You can leave it there if it’s still in a good shape. Next step is to properly clean, dry and degrease the prospective surface. Sound deadening won’t adhere properly and may not last long if applied to wet or dirty surface. Use a degreaser and dry, clean rag for this purpose. We also recommend wearing gloves and to air a room from time to time during the work. * Pre-try a degreaser on a small spot before using that on plastic or painted parts.
STEP 3
Once step 2 is complete, measure the prospective surface that you are going to treat. Quick tip is to first make a template of appropriate size on a paper and then transfer it to deadening mat. That will help to place it accurately and avoid wasting a material. Use a stationary knife or construction scissors to cut a desired shape and size. Be careful and use gloves for your hands protection.
STEP 4
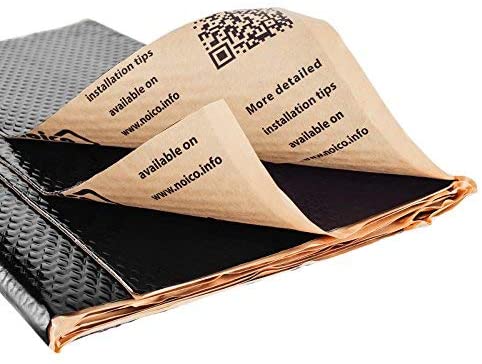
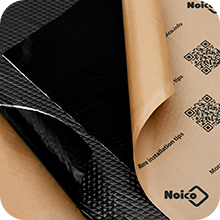
Next, place a deadening mat to the surface without removing a protective film. Make sure that it properly covers the surface. Now it’s time to remove the protective paper film but do not pull it all at once, do that gradually for better adhesion. Once on a surface, press it down and let it glue. Flatten the sheet with your hands to avoid air bubbles between a mat and metal surface. Use a rolling tool to press mat down to a metal surface. Special dimples-like foil embossing on a mat surface allows to see the spots that need more pressure. You’d have to roll it down till the foil texture becomes smooth and plain which m

Related products
-
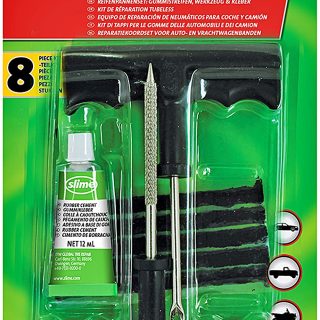
Slime 24011 Reamer/Plunger Kit T Handle
$14.93Original price was: $14.93.$12.44Current price is: $12.44.Add to cart- Use for: Tires
- Designed for: Repair
- Material: Metal, Plastic
- Color: Black
- Number: 050512Kit includes:
-
MIC_507_06 Professional Grade Premium Microfiber Towel, Gold (16″ x 24″) (Pack Of 6)
$27.59Original price was: $27.59.$22.99Current price is: $22.99.Add to cart- Scratch-Free, lint-free and swirl-free
- Long lasting microfiber
- Effective cleaning under wet and dry conditions
- Silk banded edges
- 100 Percent machine washable
-
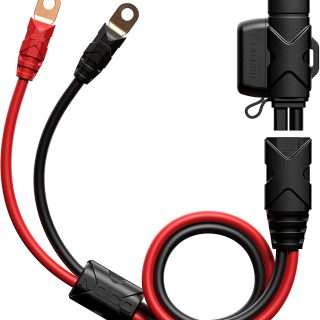
GBC007 Boost 18.5-Inch X-Connect Adapter Extension Cable For GB20/GB40/GB50 Boost UltraSafe Lithium Jump Starters, Black/Red
$42.76Original price was: $42.76.$35.63Current price is: $35.63.Add to cart- Easily swap between NOCO Boost and Boost X UltraSafe Lithium Jump Starters and NOCO Genius Smart Battery Chargers.
- A permanent connection for both jump starting or battery charging through a single accessory.
- An 18.5-inch eyelet terminal accessory with M6 hole size and 8AWG silicone wire maintains flexibility in cold environments.
- Compatible with Boost and Boost X UltraSafe Lithium Jump Starters – GB20, GB40, GB50, and GBX45.
- Also compatible with Genius Smart Battery Chargers – with adapter attached – G750, G1100, G3500, and G7200, as well as GENIUS1, GENIUS2, GENIUS2X2, GENIUS2X4, GENIUS5, and GENIUS10.
-
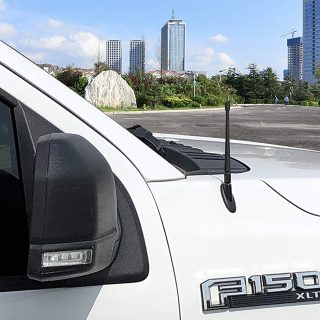
Antenna Compatible with Ford F150 2009-2022 | 7 inches Rubber Antenna Replacement | Designed for Optimized FM/AM Reception
$55.43Original price was: $55.43.$46.19Current price is: $46.19.Add to cart- Fits through: 2009-2022 Ford F-150 / F-150 Raptor
- Flexible Material: Premium Rubber outer construction for weather resistance & durability
- Low Profile 7?? Stylish Look: Improve the look of your F150 by replacing your 31?? long metal shaft antenna. The carbon fiber column on the bottom helps the base holding onto the mount and also offers stylish looking
- Easy Installation: It can screw onto your existing antenna mount in seconds
- Reception: Designed for either AM or FM bands. It performs better in reception than other low profile antennas
